Click here for the WTC recipe index and here for some entrée ideas for your cook out! And look out for printer-friendly PDFs and/or links for each of these five recipes included throughout.
Happy 2nd of July!
Today is the first newsletter of the month — so all FREE subscribers are getting access to this whopper of a 4th of July sides newsletter! If you love it, please consider subscribing to support my work!
In honor of the nation’s biggest grilling holiday in two days, I put this week’s recipe to a vote on Instagram and you guys agreed that I should break official What To Cook protocol this week. For the first time ever, rather than sharing a full dinner recipe, I’m sharing apps and sides! And a cocktail! Five recipes! Just add hot dogs!
Backyard barbecues are really the only scenario in which you can eat a whole bunch of recipes that do not coordinate at all, and it will still be a delightful meal. A hot dog, Asian slaw, sour cream and onion potato chips, watermelon salad, and mac and cheese?! Sure! That works!
Anything goes in the heat of backyard summertime revelry.
So with that in mind, let’s turn to this week’s recipes, which have absolutely nothing — but also everything — to do with each other.
Here’s what we’re cooking:
We’re pulling influence from Mexico, the South, Asia, and the Middle East. Which is actually kind of a perfect melting pot meal for America’s biggest self-celebration, no?!
An astute eye will notice a common thread through three of the recipes: scallions. I hate when a recipe doesn’t use the entire bunch of scallions — they inevitably wind up slimy and dead in then bottom of my fridge, and I feel like a monster for wasting food.
So — we used them all up. Scallions everywhere! No scallion left behind.
Editor’s Note: You may notice another difference as you read this week’s newsletter… a lack of the usual long, thorough notes and subs lists. Caro went nuts and wrote FIVE different recipes for today, and things were getting *very* long with all those sub-sections. There’s also a lot to choose from here, so if you don’t have all the ingredients for one recipe, you can opt for a different dish based on what’s in your fridge and pantry! That said: If you get in a bind or need a specific swap recommendation, drop a comment with your Q. xo, Molly
pitcher of strawberry-lemon margaritas
Up first: margs. I developed this margarita recipe during COVID and I think I taught it to no less than 100 corporate cooking classes back when I was teaching Zoom classes. George and I consumed a lot of strawberry lemon margs in 2020 and 2021. No regrets, they’re absolutely delicious and are so quick and easy to whip up.
Makes 4 cocktails
Cook time: ~5 minutes
Tools:
Paring knife (or any knife — it’s for destemming the strawberries)
Lemon squeezer, if you’ve got one
Pitcher (optional)
Ingredients:
1 cup blanco tequila
1 cup fresh strawberries, destemmed (you don’t have to cut them up, but really pack them in there!), plus a few strawberry slices for garnish
1/2 cup fresh lemon juice (from 3 to 4 lemons), plus some thin lemon slices for garnish
1/4 cup orange liqueur (such as triple sec or Grand Marnier, OR, for less sugar, the juice of 1 large orange — but add an extra splash of tequila!)
1 tablespoon fresh mint leaves, plus more for garnish
Sugar, agave syrup, or simple syrup to taste, if needed
Add 1 cup blanco tequila, 1 cup fresh strawberries (destemmed), 1/2 cup fresh lemon juice, 1/4 cup orange liqueur, and 1 tablespoon fresh mint leaves to a blender and blend on high speed for 20 to 30 seconds, until no strawberry specks remain. Taste. If your strawberries weren’t at their peak it may need to be sweetened. If so, add a touch of agave syrup, sugar, or simple syrup.
To serve, you can either add it to a pitcher filled with ice and let people pour their own, or you can pour it evenly into 4 glasses full of ice. Garnish with thinly sliced strawberries, thinly sliced lemon, and fresh mint and ENJOY!
NOTE:
This recipe will also work with raspberries or blackberries if you have a high-enough powered blender to blend the seeds, or if you’re OK with a bit of texture, or don’t mind straining it.
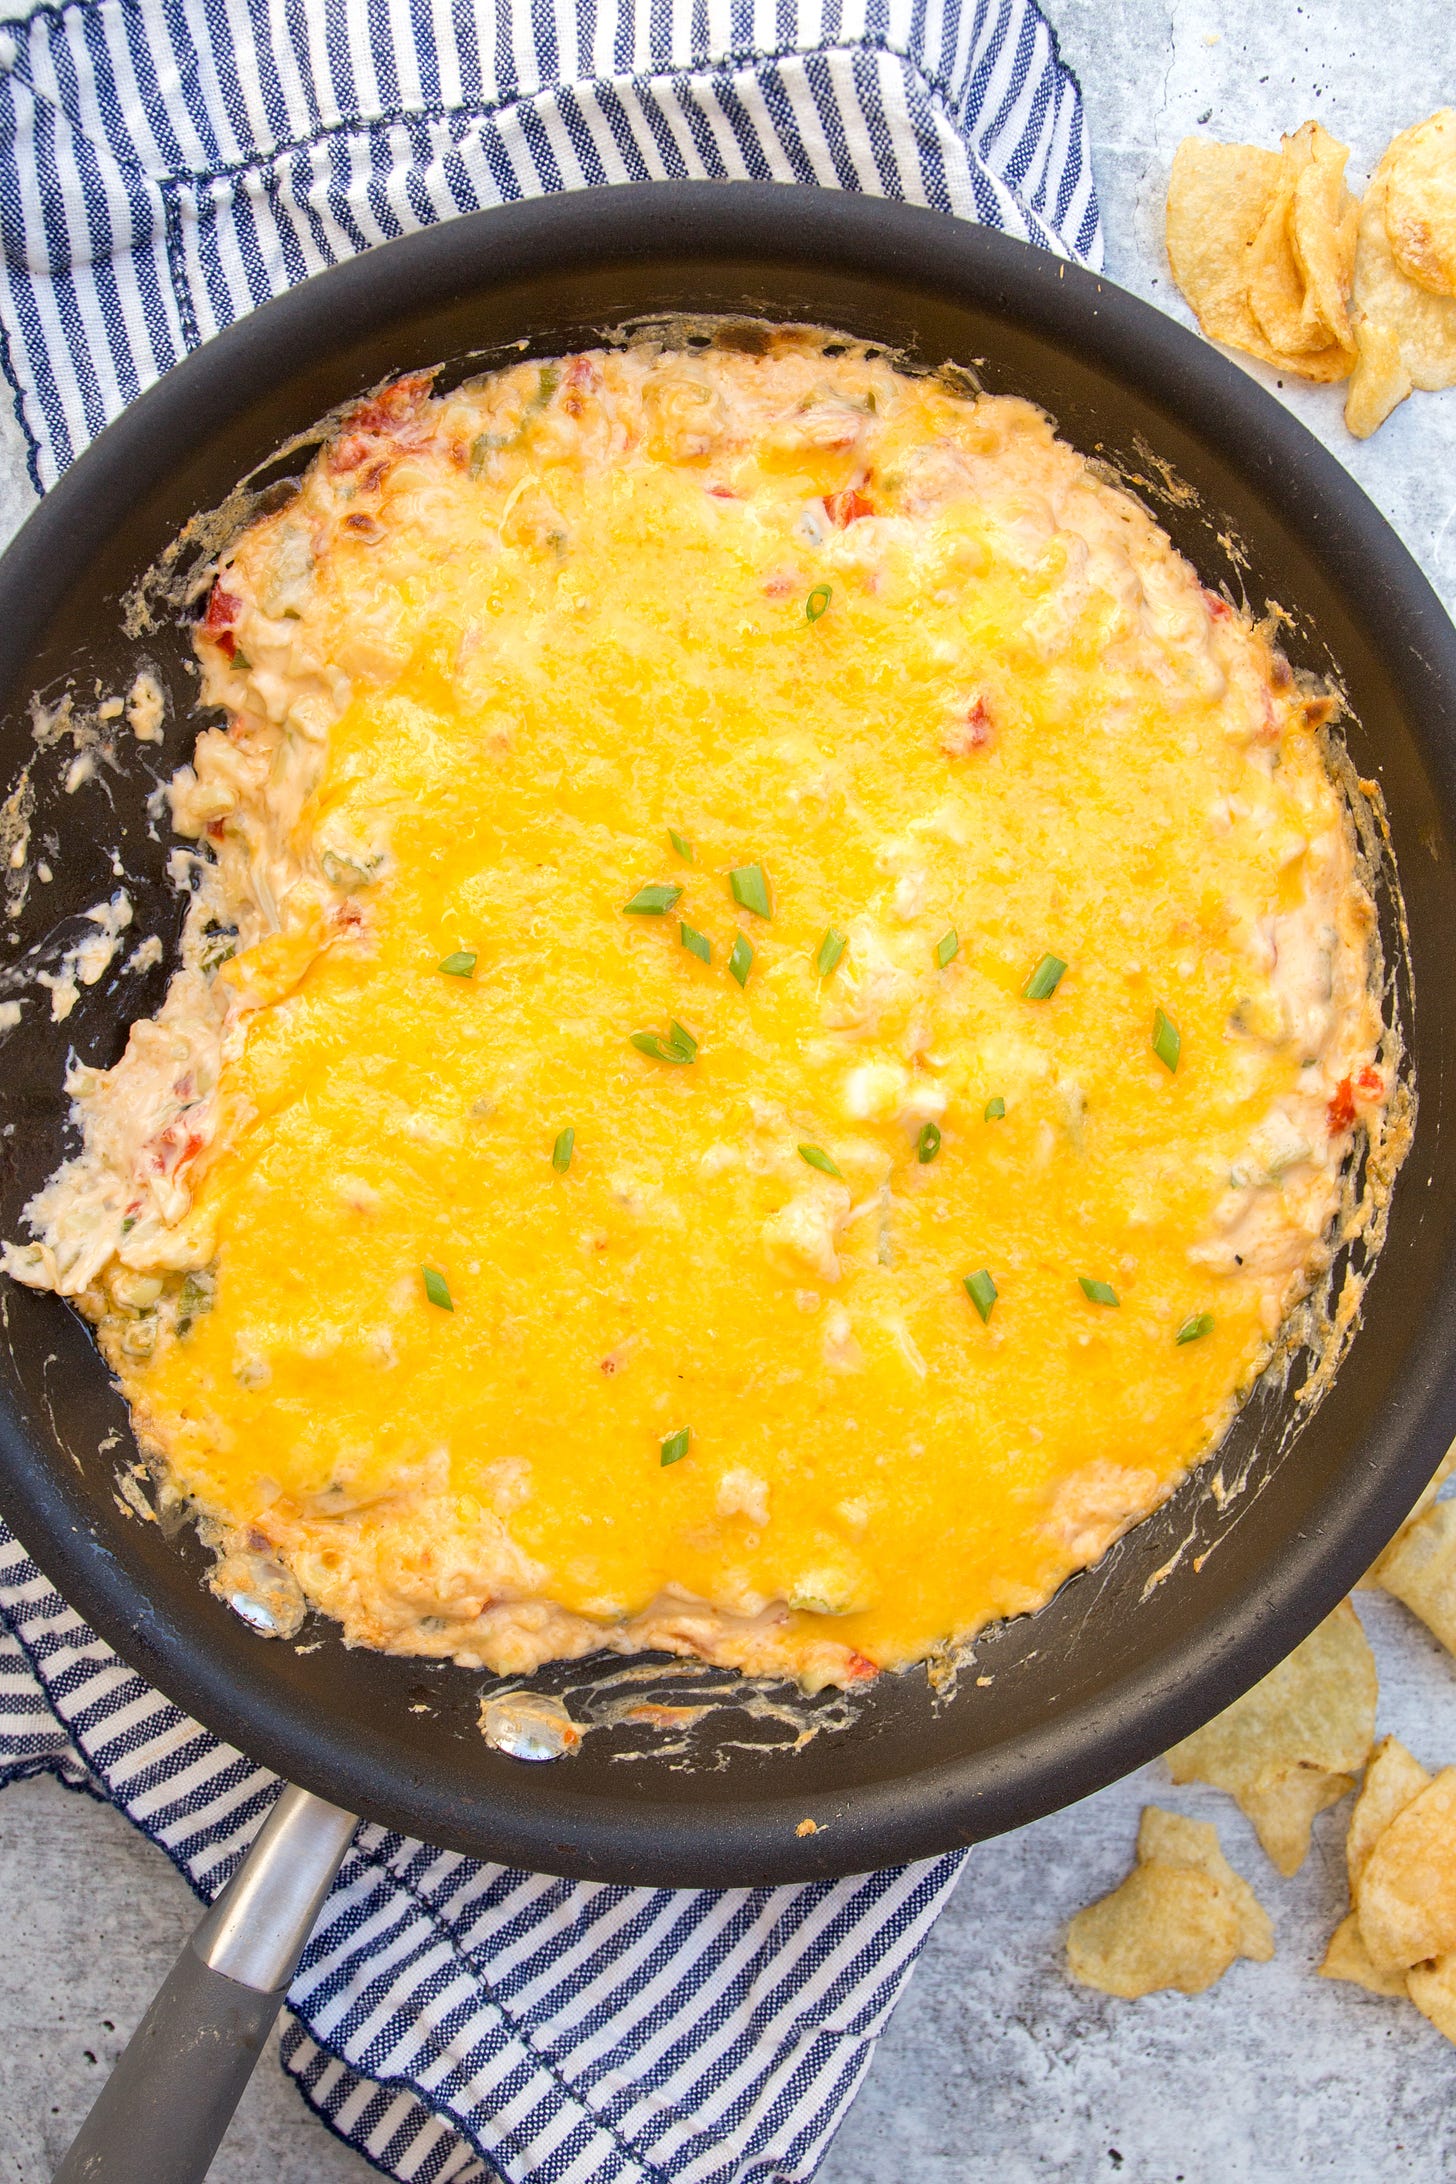
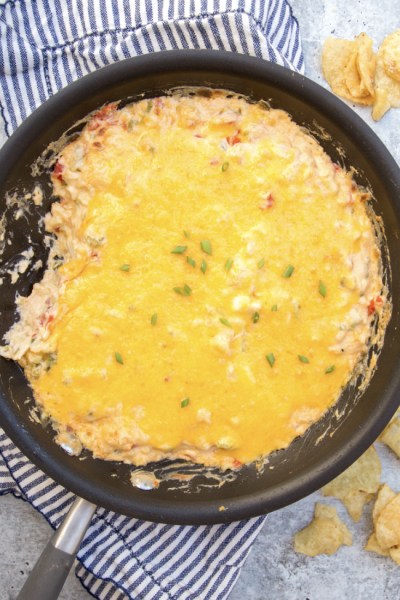
hot corn & scallion pimento cheese dip
Pimento cheese? Good. Perfectly ripe summer corn? Good. Corn IN PIMENTO CHEESE? Gooooooooood. (Yes, that was a Joey from FRIENDS reference.) Make this dip as far as 48 hours in advance, then simply broil it (or throw it over indirect heat on the grill!) when you’re ready to serve it.
Serves 4 to 6
Cook time: ~15 minutes
Tools:
Ingredients:
1 tablespoon olive oil or butter
2 ears of corn, kernels removed (about 1 ½ cups kernels)
3 scallions (AKA green onions), thinly sliced, plus more for garnish
2 garlic cloves, minced
1 (8-ounce) block cream cheese, room temperature
1 ½ cups shredded sharp cheddar cheese, divided
1/3 cup mayonnaise
1/2 cup minced roasted red peppers
1/4 teaspoon kosher salt
1/4 teaspoon garlic powder
Optional: pinch of cayenne pepper
To serve: I love this dip with kettle potato chips, but any cracker or chip works!
Preheat the broiler.
Warm 1 tablespoon olive oil or butter in an 8- to 10-inch ovenproof skillet over medium-high heat. Add 1 1/2 cups corn kernels, 3 thinly sliced scallions, and 2 minced garlic cloves and cook until the corn is crisp-tender, 2 to 3 minutes.
Reduce heat to medium-low and stir in 8 ounces cream cheese, 1 cup of the sharp cheddar cheese, 1/3 cup mayonnaise, 1/2 cup minced roasted red peppers, 1/4 teaspoon kosher salt, 1/4 teaspoon garlic powder, and a pinch of cayenne, if using. If needed, add a splash of milk to thin the dip out.
Smooth the dip out with a spatula and sprinkle the remaining 1/2 cup cheddar cheese on top.
Broil for 2 to 4 minutes, until the cheese is melted and browned. Serve alongside chips or crackers and dig in!
NOTES:
Want to save half for later to eat like a traditional cold pimento cheese? After you stir in the cheeses and peppers, scoop half of the dip out and into a Tupperware container or jar, then only broil the half still in the skillet! Or you can eat all of it at room temperature! Just skip the broiling step.
If you’ve never cooked with roasted red peppers before, this (any brand!) is what you’re looking for. They’re what add the “pimento” element to this dip. You could, of course, swap them with minced jarred pimentos. You could also leave them out!
Leave out the corn and don’t heat it up for a more traditional pimento cheese!
baba ghanouj-ish
Next up: my baba ghanouj-ish. This dip is baba ghanouj meets yogurt dip meets hummus and is RATHER GOOD. We had baba ghanouj like this one at a really cool restaurant in Tofino, BC, a few weeks ago on our anniversary trip, and I haven’t been able to stop thinking about it. So I recreated it for all of us!
Serves 4 to 6 as an appetizer
Cook time: ~40-55 minutes (depending on how you cook your eggplant this is either very passive or more active)
Tools:
Blender (or food processor)
Ingredients:
1 large eggplant
2 scallions (AKA green onions)
1/3 cup chickpeas (very small amount just for a bit of texture)
1/4 cup plain or Greek yogurt
3 tablespoons tahini
2 tablespoons extra-virgin olive oil
Juice of 2 lemons
Juice of 1 lime
1 teaspoon kosher salt
1/4 teaspoon smoked paprika
Several grinds of pepper
Dumpster dive for toppings: roasted red pepper, goat or feta or Parmesan cheese, fresh chopped herbs, toasted nuts or seeds, a drizzle of olive oil, red pepper flakes
To serve: Fresh pita, pita chips, crackers, flatbread, crudités, etc.
There are two ways to cook your eggplant. One is totally hands off; one requires a bit of attention but yields a smokier, more delicious flavor.
Hands-off method: Coat the eggplant skin with oil (any oil!) and roast in a 375°F oven for 30 to 40 minutes, until totally tender. Set aside until cool enough to handle, then peel off the skin.
Smokier but more time-consuming method: Place the eggplant over the medium-high open flame on your gas grill or stovetop burner (no need to oil it). Turn every 4 to 5 minutes until charred all over and completely tender. Set aside until cool enough to handle, then peel off the skin and discard it.
Throw the 2 scallions into the oven for the last 10 minutes if using that method, or onto the grill or burner for the last 4 minutes if using that method. It’s OK for them to get very charred!
Throw the cooked eggplant and scallions in a blender or food processor along with 1/3 cup chickpeas, 1/4 cup yogurt, 3 tablespoons tahini, 2 tablespoons extra-virgin olive oil, the juice of 2 lemons, the juice of 1 lime, 1 teaspoon kosher salt, 1/4 teaspoon smoked paprika, and several grinds of pepper.
Blend until completely smooth, 30 seconds to 1 minute. Add more salt and lemon juice until it’s perfect.
Transfer to a serving bowl and, if you choose, garnish it up! I have lots of ideas in the “dumpster dive” section above. Basically, just scrounge around your fridge and pantry and make it look pretty! Serve with fresh pita bread, pita chips, crackers, and/or crudités, etc.!
A FEW SUBS:
There’s really no sub for the eggplant — just skip this one and go for the pimento cheese!
Scallions can be left out
Yogurt: Sour cream, cashew yogurt — basically any yogurt or white creamy sauce — or omit
Tahini paste: Cashew butter or 2 tablespoons toasted sesame seeds
Lemon and lime juice: 3 tablespoons apple cider vinegar
sesame-scallion slaw
I’m a North Carolina girl, so I love a good ole goopy mayo slaw for the nostalgia of it. But for the actual taste? Eh, not so much. I much prefer a bright, zippy, crunchy slaw like this one, which is loaded with lime, sesame, rice vinegar, and soy sauce. If you want a spicy slaw, mince up a jalapeño and throw that into the mix too!
Serves 4 to 6 as a side or appetizer
Cook time: ~30 minutes (no cooking but a decent bit of chopping!)
*can be made up to 24 hours in advance*
Tools:
Serving bowl
Sesame-Scallion Dressing:
1/3 cup toasted sesame oil
Juice of 2 limes
3 tablespoons rice vinegar
3 tablespoons soy sauce
1 tablespoon tahini or peanut butter
1 tablespoon honey
1-inch piece fresh ginger, peeled and grated using a microplane or minced (or 2 frozen cubes)
1 garlic clove, grated using a microplane or minced (or 1 frozen cube)
2 scallions (AKA green onions), thinly sliced
Slaw:
1 head green cabbage, thinly sliced, OR 2 (16-ounce) bags shredded cabbage or coleslaw mix
1/2 teaspoon kosher salt
1 red bell pepper, thinly sliced
1 orange bell pepper, thinly sliced
1/2 medium red onion, thinly sliced
1 large honey crisp, pink lady, or green apple, thinly sliced
1/2 cup finely chopped fresh cilantro leaves and stems
1/2 cup finely chopped fresh mint leaves
1 package Maruchan ramen noodles, crushed up
1/3 cup chopped toasted peanuts
In a large serving bowl, whisk together 1/3 cup toasted sesame oil, juice of 2 limes, 3 tablespoons rice vinegar, 3 tablespoons soy sauce, 1 tablespoon tahini or peanut butter (crush it with the back of a spoon to get it to incorporate more easily), 1 tablespoon honey, 1-inch piece grated ginger, 1 grated garlic clove, and 2 thinly sliced scallions until combined.
To the bowl, add the thinly sliced head of cabbage and sprinkle it with 1/2 teaspoon kosher salt. Use your hands to massage the salt into the cabbage, which will make it more tender and able to absorb the dressing! (Yes, you may get some of the dressing on your hands too!)
Now throw in the thinly sliced red bell pepper, thinly sliced orange bell pepper, thinly sliced 1/2 red onion, thinly sliced apple, 1/2 cup finely chopped cilantro, 1/2 cup finely chopped mint. Use tongs or your hands to toss until everything is coated in dressing.
Taste! Sometimes I need to add more salt, or a little drizzle of rice vinegar to make things tangier.
If eating immediately, add the crushed up Maruchan ramen noodles and 1/3 cup toasted peanuts now. If eating later, add them right before eating.
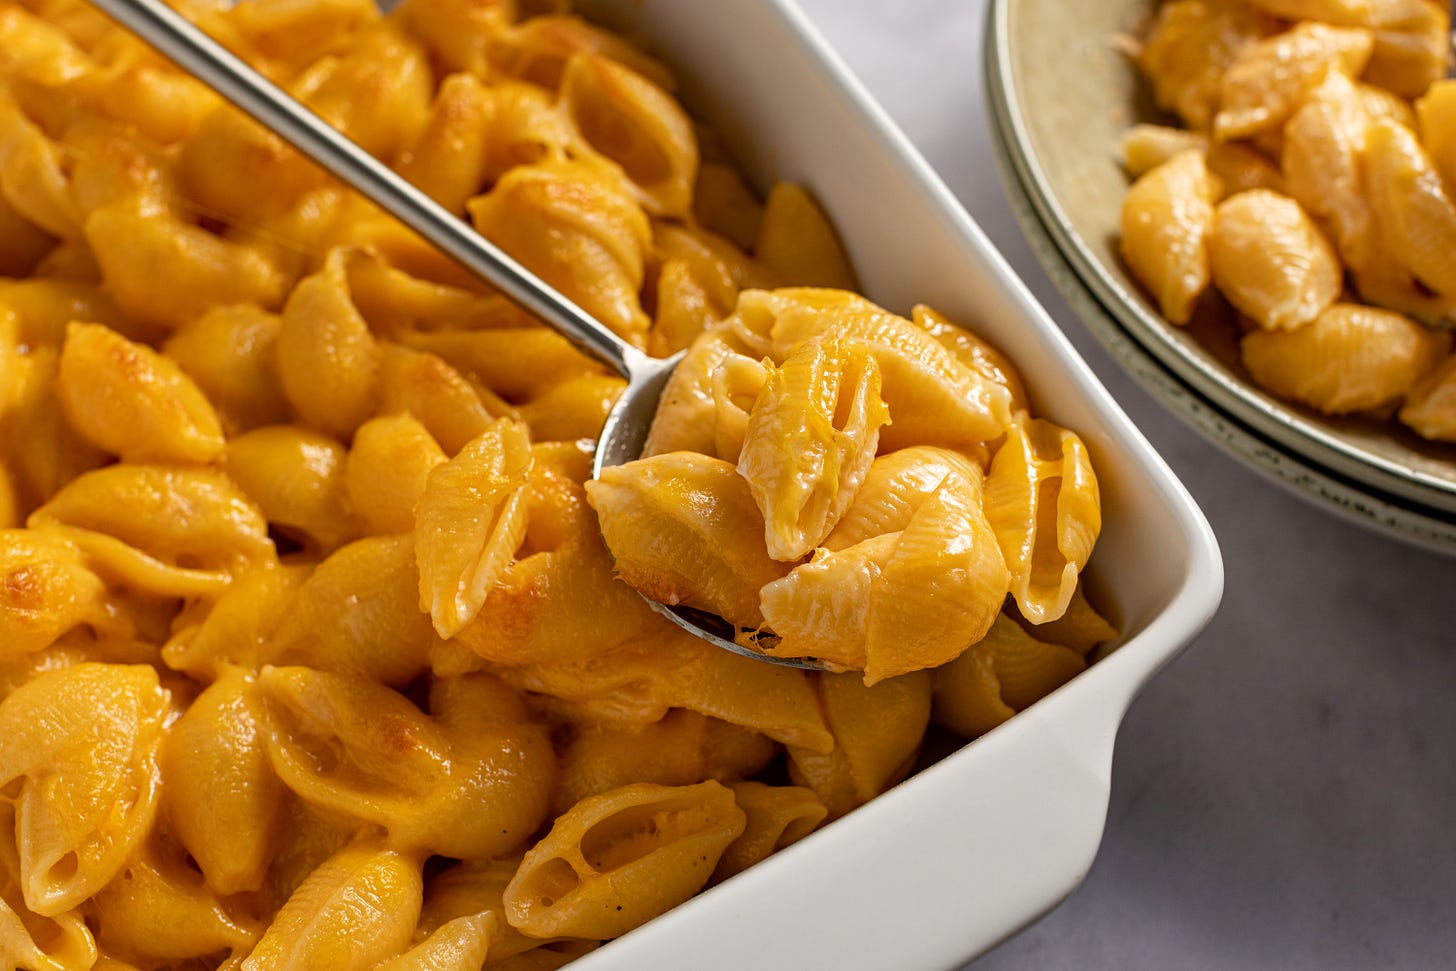
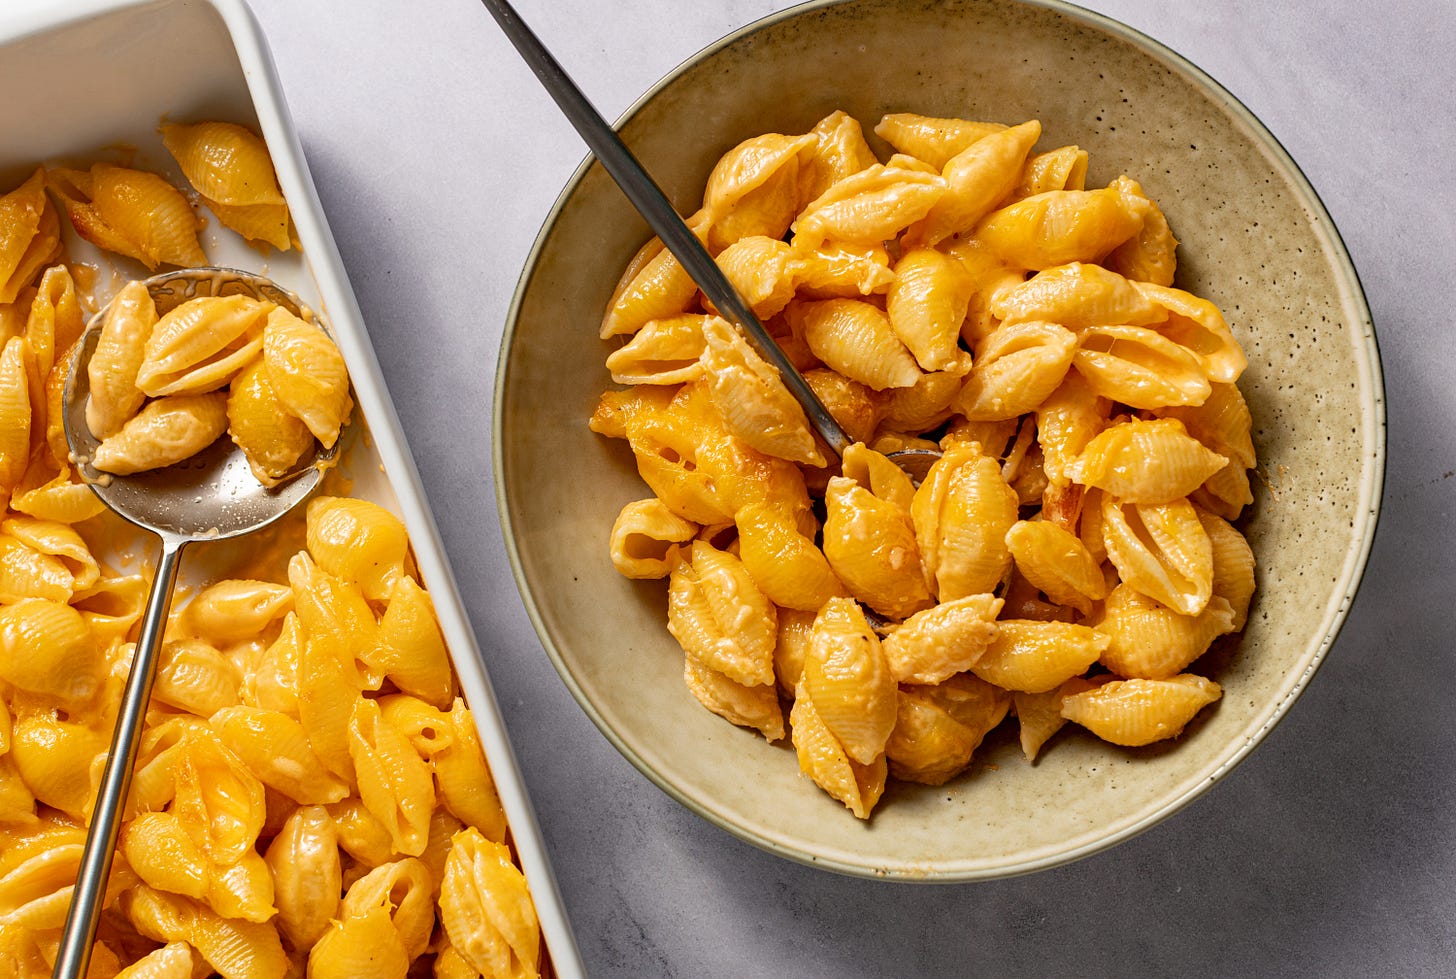
stupid-simple make-ahead mac and cheese
The name of this next one says it all. This mac and cheese is stupid simple, and you can make it up to three days in advance. No fancy cheese sauces here, we are going back to basics with this recipe. Why? Because summer is all about maximizing time spent outdoors doing awesome stuff. Standing over the stove making an elaborate cheese sauce in the dead heat of summer? Not that awesome. This mac and cheese is simple and absolutely delicious, but I provide a few ways to fancy it up if you so choose, including smoking it!
Serves 6 to 8 as a side
Cook time: ~45-55 minutes
Tools:
Large pot
Colander/strainer
Greased 9x13-inch baking dish or 12-inch cast iron skillet
Ingredients:
Kosher salt
1 pound large shell pasta (but any short noodle works)
12 ounces cheddar cheese (do NOT buy pre-shredded), divided
1 cup grated Parmesan cheese
4 ounces cream cheese
1/2 cup whole milk
1 tablespoon unsalted butter
OPTIONAL: pesto, buffalo sauce, crab meat, sun-dried tomatoes, lobster meat, you get the drill!
Bring a large pot of water to a boil. Add a HUGE pinch of kosher salt. Cook 1 pound short pasta noodles al dente per package instructions. That means that when you test a piece, it should still taste a little bit hard. Why? Because we’re actually going to bake the mac and cheese, so the pasta is going to keep cooking and we don’t want it to get too soft!
BEFORE YOU DRAIN THE PASTA, reserve 1/2 cup pasta cooking water.
Meanwhile, grate 12 ounces cheddar cheese and 1 cup of Parmesan cheese.
After draining the pasta, return it to the pot along with 1/4 cup of the reserved pasta cooking water, 8 ounces shredded cheddar cheese (AKA A LITTLE MORE THAN HALF BUT NOT ALL OF IT!), 1 cup grated Parmesan cheese, 4 ounces cream cheese, 1/2 cup whole milk, 1 tablespoon unsalted butter, and 1 teaspoon kosher salt.
Continue stirring until everything is totally melted and smooth. If the sauce is too thick, stir in more pasta cooking water. Everything should melt nicely off the heat, but, if needed, you can turn the burner back onto very low heat to help the cheeses melt.
Taste and season! You can add salt, pepper, nutmeg, a little ground mustard. Maybe you’re in the mood for something a little different — try adding a swirl of pesto, a handful of sun-dried tomatoes, or buffalo sauce. Or make it fancy with some crab or lobster meat! Or add a green like steamed chopped broccoli! Do your thing!
Transfer the mac and cheese to a greased 9x13-inch baking dish or 12-inch cast iron skillet. IF COOKING IMMEDIATELY, sprinkle with the remaining 4 ounces shredded cheddar cheese. If not cooking immediately, let it cool down. Once cool, top with the remaining cheese and cover and refrigerate for up to 72 hours.
When you want to eat in about 45 minutes, preheat oven to 375°F.
Bake uncovered for 25 to 30 minutes, until the cheese is melted and bubbly.
Let the mac and cheese rest for at least 5 minutes before beginning to serve it. Enjoy!
NOTES:
If you use a cast iron skillet, you can cook this on the grill at 375°F over indirect heat (no burners lit underneath it).
Or — if you have a smoker — smoke it for 30 minutes over 200°F, then crank up the heat to 375 to get the cheese nice and melted. Again, always over indirect heat (otherwise the bottom of the noodles will burn).




Just here to say, years later, this slaw is still maybe my favorite recipe of all times of yours. Made again yesterday.
We made the strawberry margs, the pimento corn dip and the Mac and cheese for our 4th of July! The corn dip was my favorite - we devoured it!!